Finished!*

img_0069I think they call this “substantially complete” in the construction trade. What a process!

Throughout this whole process, other than organize the effort, all I have done is…

  • cut out two windows because we ran out of time before the weekend, and I was concerned about wind
  • attach 3 16 foot 2x4s to the roof
  • drive some screws here and there
  • drive to Home Depot and back a gazillion times for supplies

The rest — 99% — was all the seventh graders, and I am proud of them.

*The corn stalk schach was, well, a big mess. I will need to add more cuttings to the roof this weekend for it to be a kosher Sukkah, but that’s not a big deal.

fullsizerender-2

Almost Finished!

Thanks to the math teacher and Hebrew teachers, I was able to steal two hours of work time today, Friday, the last day!

Students got to work finishing off the schach supports and the decorative Star of David out of rope that adorns the roof of the Sukkah. Meanwhile, others kept plowing away at decorations, including a 4′ x 8′ section of the Western Wall — complete with nooks for prayers.

At one point,  a few students were not being particularly helpful. Actually, they were making a huge mess out of the corn from the corn stalks that I had picked up for schach. Their excuse was that they had nothing to do. I reminded them that it’s their job to figure out how to be helpful and challenged them to figure out how to make use of the corn in a decorative way (rather than just destroy it). Two boys went to sit on the bench to “think about it” for a while. Honestly, I didn’t think they were actually working on the problem. But they sure proved me wrong! Their idea was to use the corn to spell out MJDS by drilling the corn into leftover pieces of OSB and hanging it in the Sukkah. Brilliant.

img_0060

At this point it’s down to the finishing touches — laying the schach on the roof, finalizing decoration and adding the tables and chairs! Chag sameach!

img_0059 img_0057

Freak Out Day (for me)

So today was the only day in the process that I freaked out a little. Or maybe a lot. Not much worked as expected. With the majority of the structure up, we were still struggling to figure out how to support the schach. This was an important learning moment for me and the students. Of all the things we planned and modeled, we simply forgot to put much thought into how we would support the schach — and we were paying for it. We should have prototyped this critical aspect before assembling the Sukkah.

The first idea — to use criss crossing ropes, was poorly conceived and started to cause the Sukkah walls to cave in. Not good. Full stop.

The second idea — to join two eight foot 2x2s with a bracket in the middle, was an even bigger failure. The combined 16 foot long piece of wood had zero rigidity and was a hazard more than anything else. Meanwhile, we had also reached a point in the process where not everyone had anything to do, which caused some kids to wander, meander, play with tools, etc. It was a hot mess.

The kids and I understood the only real solution: use 16 foot long 2x4s to create a support structure. So I ventured off to Home Depot and bought six of them, unsure how I would safely get them home on my eight foot long trailer. Turns out it’s possible 🙂

img_0056

I returned with the wood and decided to make sure the idea would work. After all, time was running out. So I hung attached three of the 2x4s at joints in the panels, and the idea worked. The structure was even stronger, and now the kids could finish engineering the schach supports. Phew!

Assembly Time!

After all the planning and building in the MakerSpace, it was finally time to start assembling the Sukkah outdoors on the playground’s blacktop. We sure hoped our plans would work out!

The students were extremely excited to get started and literally ran outside. Thanks to the way Mondays work, combined with a donated science class, we ended up with four hours of assembly time on Monday and another hour on Tuesday. We made tremendous progress getting the basic structure up, as well as some of the decorative finishes.

img_0041 img_0044 img_0049

Jigsaw Genius

One of the most important design elements of the Sukkah was its entryway. The students settled on a design that would feature, right in the center, a cut out of Israel that was supposed to be at least seven feet tall. Now that’s a daunting design/build challenge.

The first step was to trace Israel onto a piece of 1/4″ OSB — but they wanted it to be exact, not freehand. It took a group of five students two class periods to figure it out, but they eventually managed to project a map of Israel onto the OSB and trace it.

The next step was to cut out the shaped of Israel as it was traced. Practically speaking, the only way to do this was freehand with a jigsaw — a tool that no one in the class had ever used. After figuring out that they needed to affix the OSB to its frame before jigsawing (otherwise, the jigsaw blade would hit the floor), I gave a lesson in how to use a jigsaw safely. And they got to work.

Especially considering it was everyone’s first time, the three kids who used the jigsaw did an expert job.

img_0011 img_0010 img_0012

An Outside Expert Visits

Back in the summer, a friend of an MJDS family, Mr. Pavlak, contacted me to say that he had tools to donate. We met and he very generously donated many tools to our MakerSpace. We also discussed whether he would be interested in volunteering his time to help with woodworking projects, and he enthusiastically agreed.

Today he visited class and worked with a group of three students on one main issue: the structural integrity of the sukkah. He challenged the students to shore up the doorway frames in particular, but also to think about how to best attach the sukkah at its corners. Thanks to his involvement, the students modified the door frames and ended up with a much stronger structure. All three doorway panels received extra 2×4 cross supports.

img_4097

img_0014

The Sukkah Doorway

One of the unresolved issues at this point in the build was the doorway. The kids ultimately voted on a design, but they hadn’t figured out how to build it yet. I sent a group of three students across the hall to the Engineering Lab to work with the middle school science teacher, Gev. Jirovetz, on a design that we could actually build.

img_4073

After designing the doorway (above), the students immediately asked if they could present their concept to the rest of the class. Of course! These kids inherently understand good process. They weren’t comfortable forcing the design on their classmates. They wanted consensus, and they also wanted feedback to make it better. This is an example of a critical life skill that can and must be taught. And I am proud that I didn’t even have to prompt them.

So, the next day the three students presented their design to the rest of the class. Many students asked good clarifying questions; but in general, everyone was excited to move forward. So we did!

Bringing Art to the Sukkah

The critical mass of this group of students is never satisfied with just getting something done. They often want to go big, and thus far they’ve proved that they’re capable of working together to bring some of those dreams to life. A great example is their desire to not just build a sukkah, but to build a beautiful sukkah.

The first of the major artistic endeavors was the recreate a stylized Old Jerusalem skyline mural for one of the interior walls of the sukkah. That’s a 16 feet span! With some help from our art teacher, Gev. Porat, the kids got to work chalking out their design onto two pieces of 1/4″ OSB.

img_4067

I honestly wasn’t sure how this mural would turn out. After just one class period, though, I was blown away. It’s going to be stunning. And it’s so special to watch a large group of students bring the design of just a few of their classmates to life. We might need to scrub the hallway floor afterwards. But as they say, creativity is messy.

img_4075

Building a Sukkah – I am Blown Away!

A number of class periods have passed since I last posted, and that’s a testament to the frenetic — and extremely exciting — nature of what’s been happening in class recently. Let’s get up to speed.

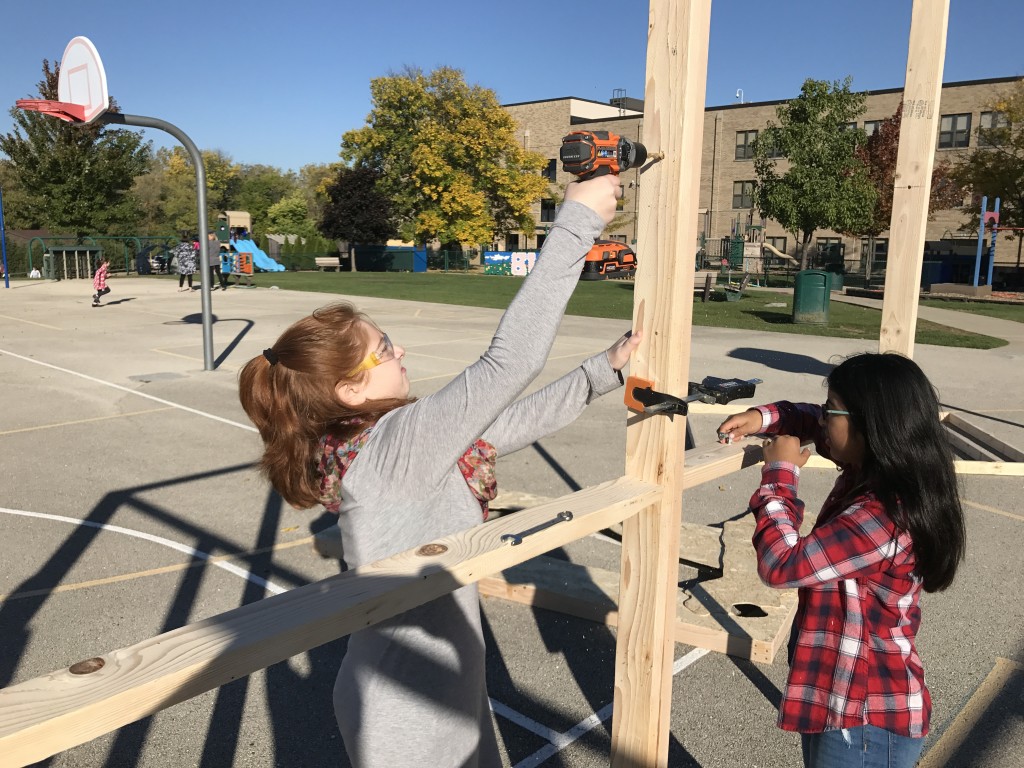
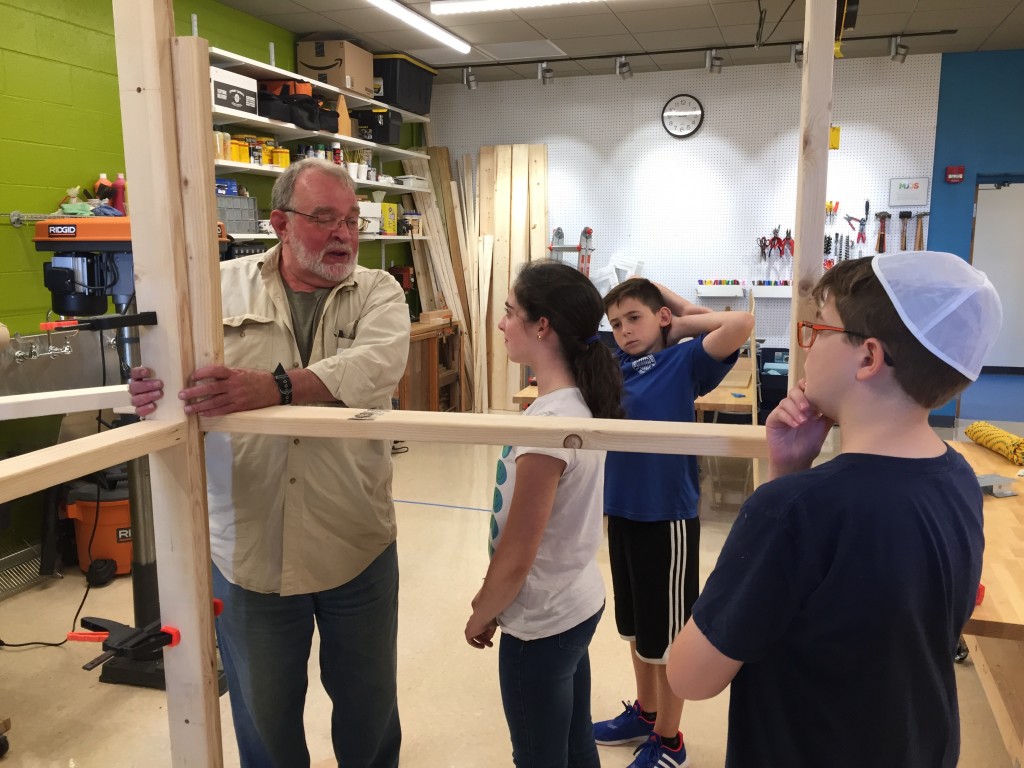
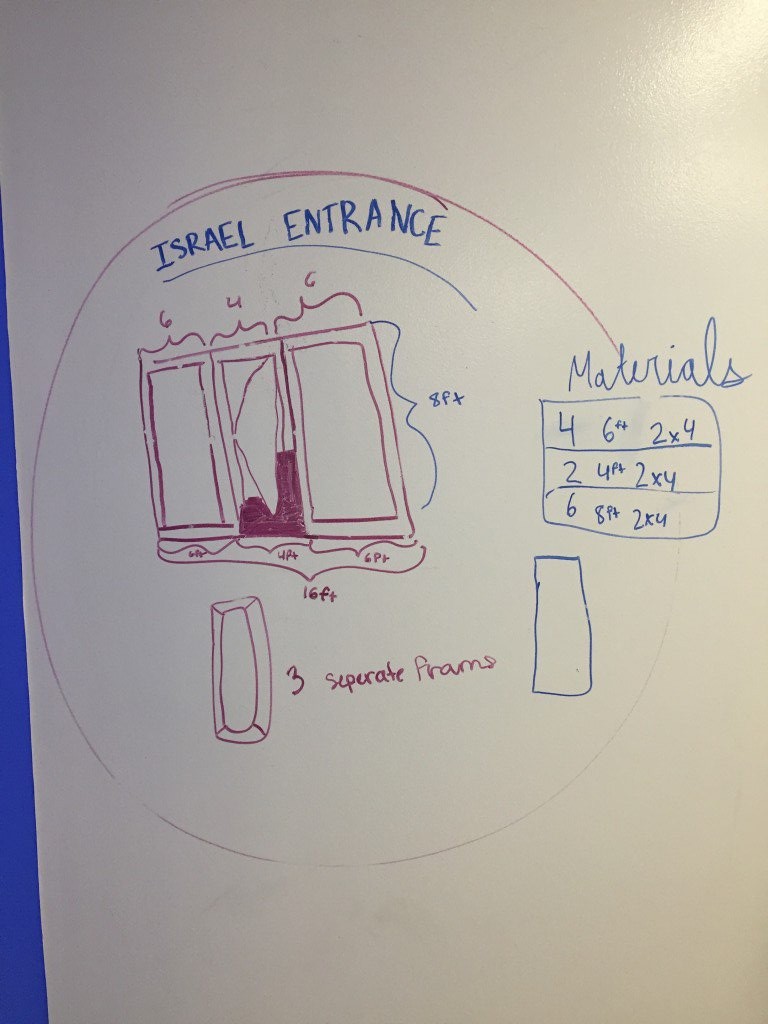
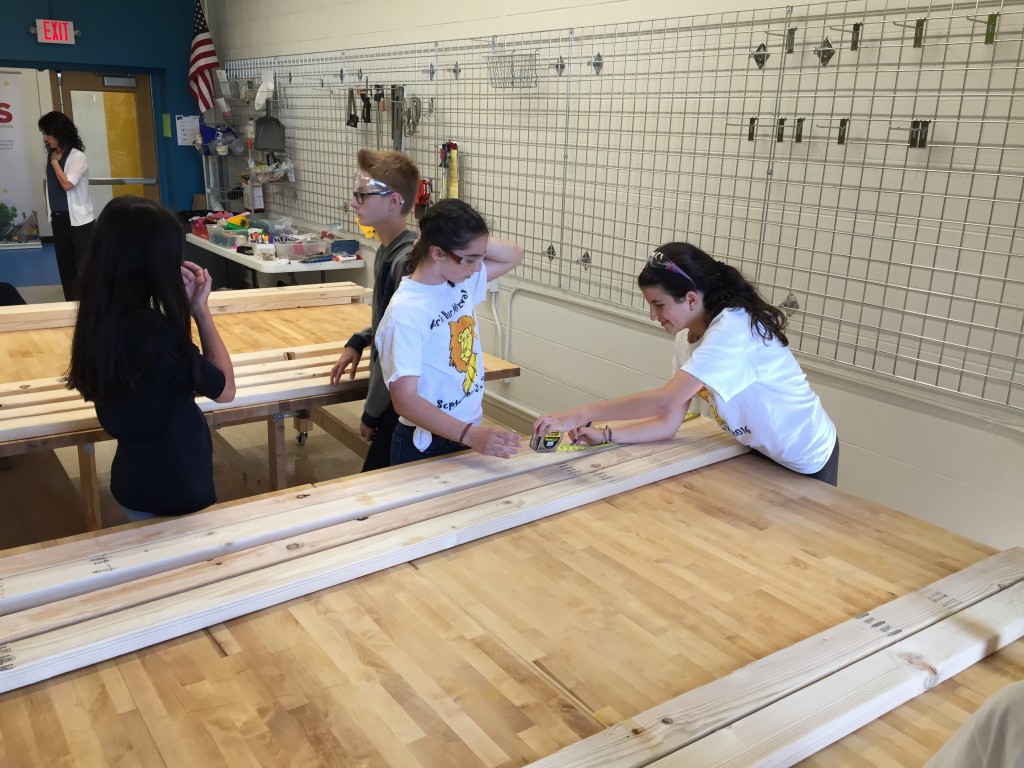
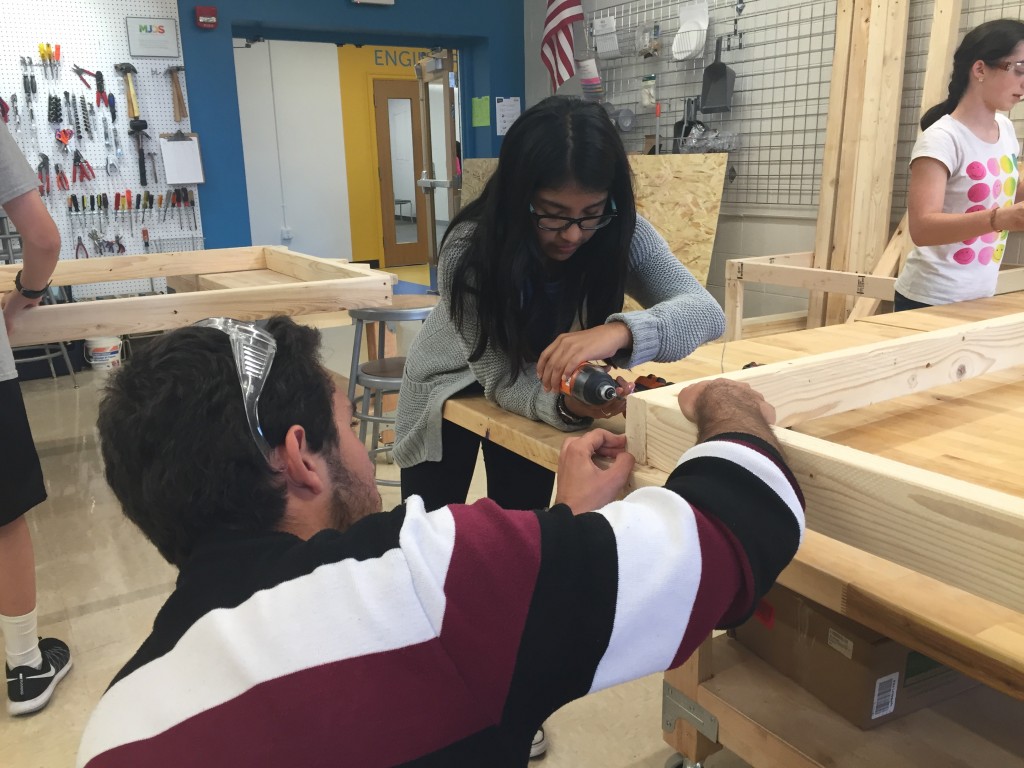
After watching the students practice driving screws, it was clear to me that they were going to need help fastening the sukkah frame’s butt joints. Otherwise, let’s just say the frames wouldn’t have been close to square. But never fear! There’s a tool for that.

img_4063 img_4066

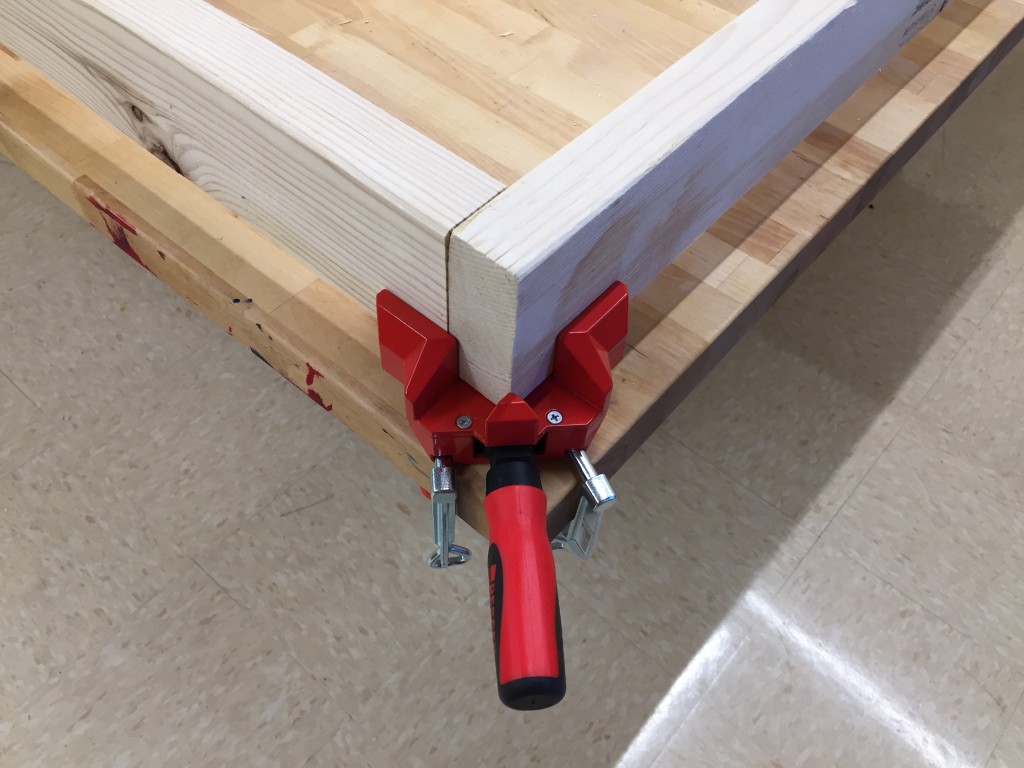
I picked up a few of these right angle clamps at Home Depot, and they worked extremely well. Even though each framing group had to release the clamp and reposition the frame after each joint, I am certain it saved time. Almost no drilling errors — and lots of nice, tight joints! And the true evidence of success is that some groups, midway through the process, started driving screws without the clamp (but still using the clamp to keep one joint tight).

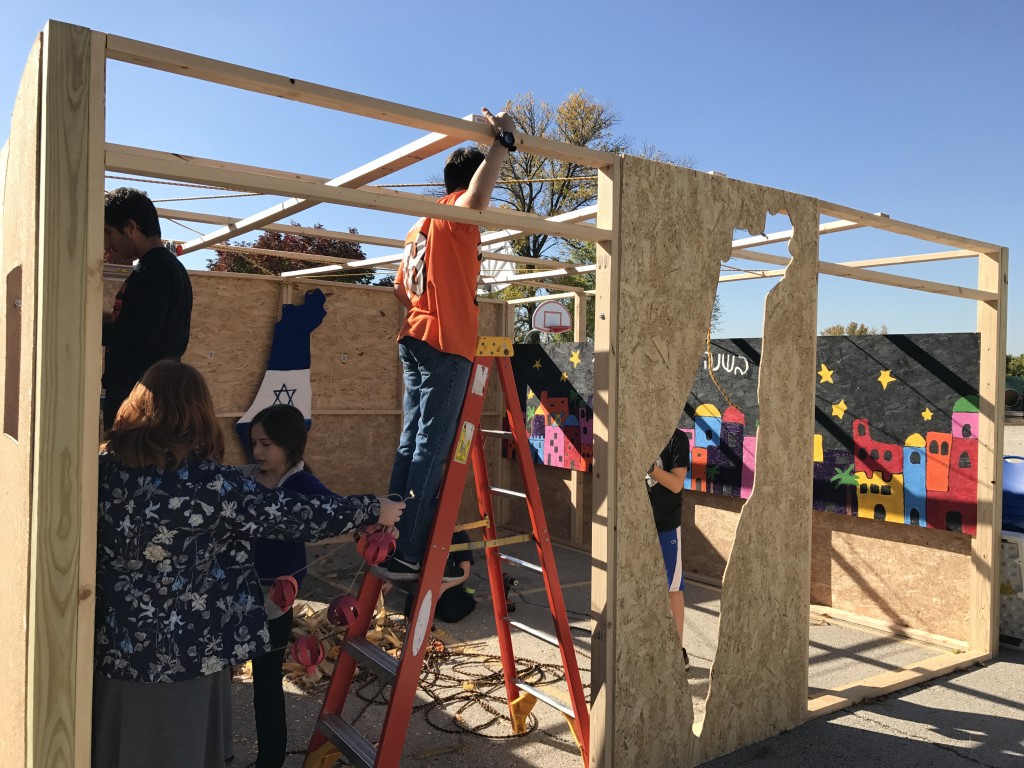
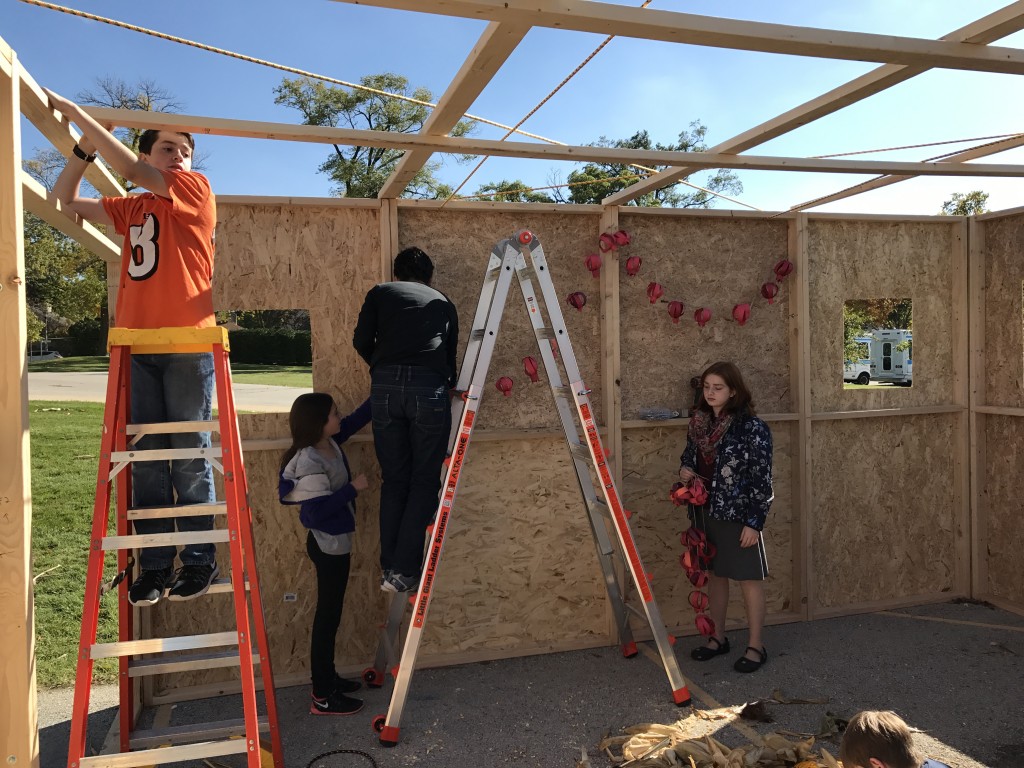
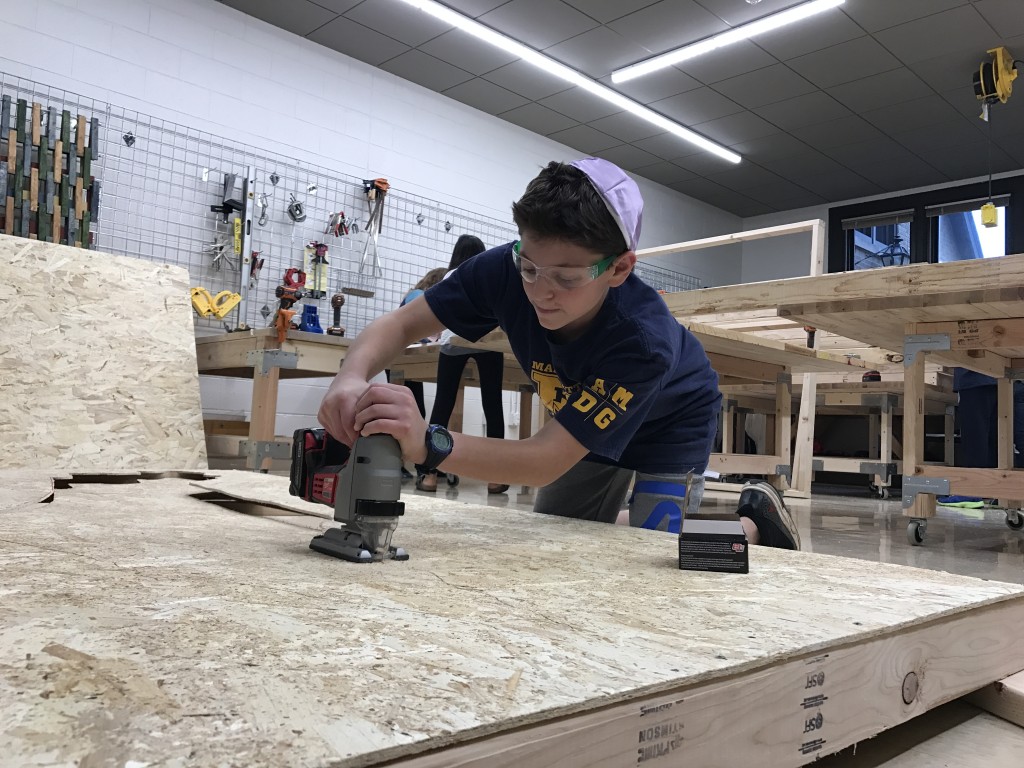
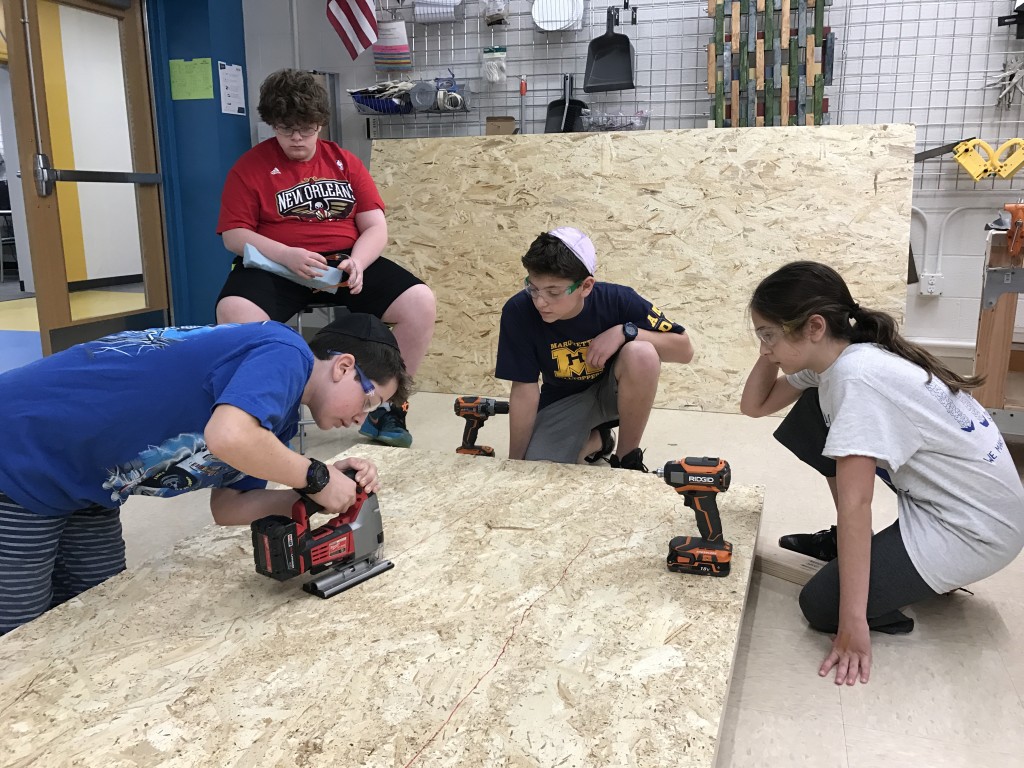
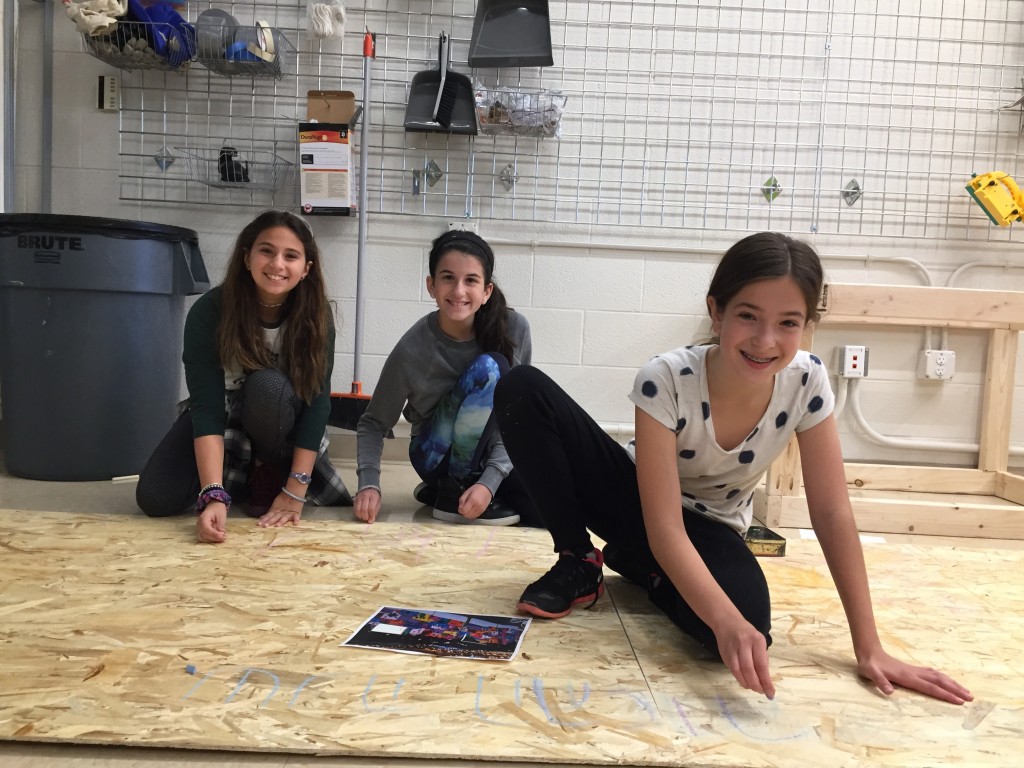
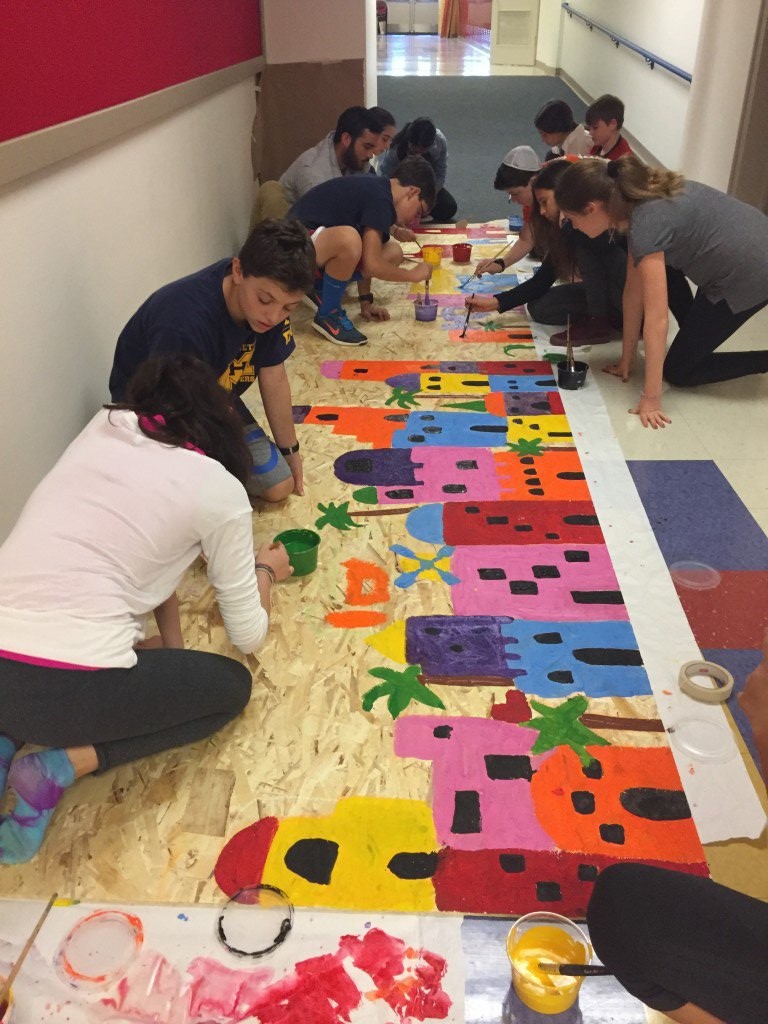
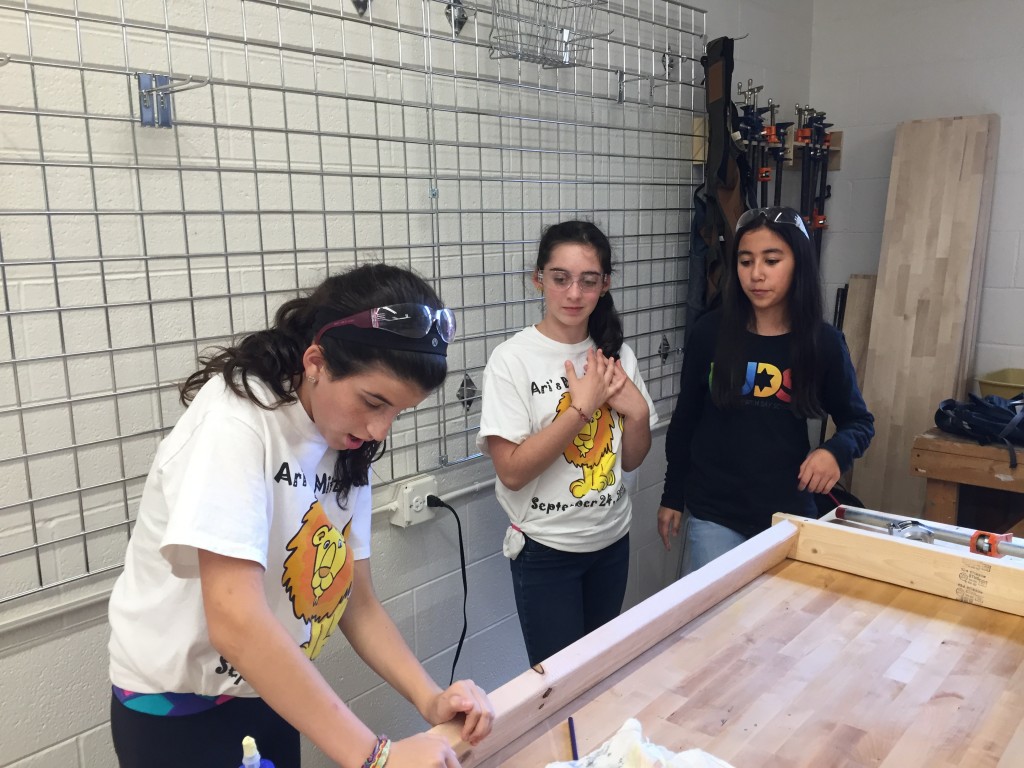
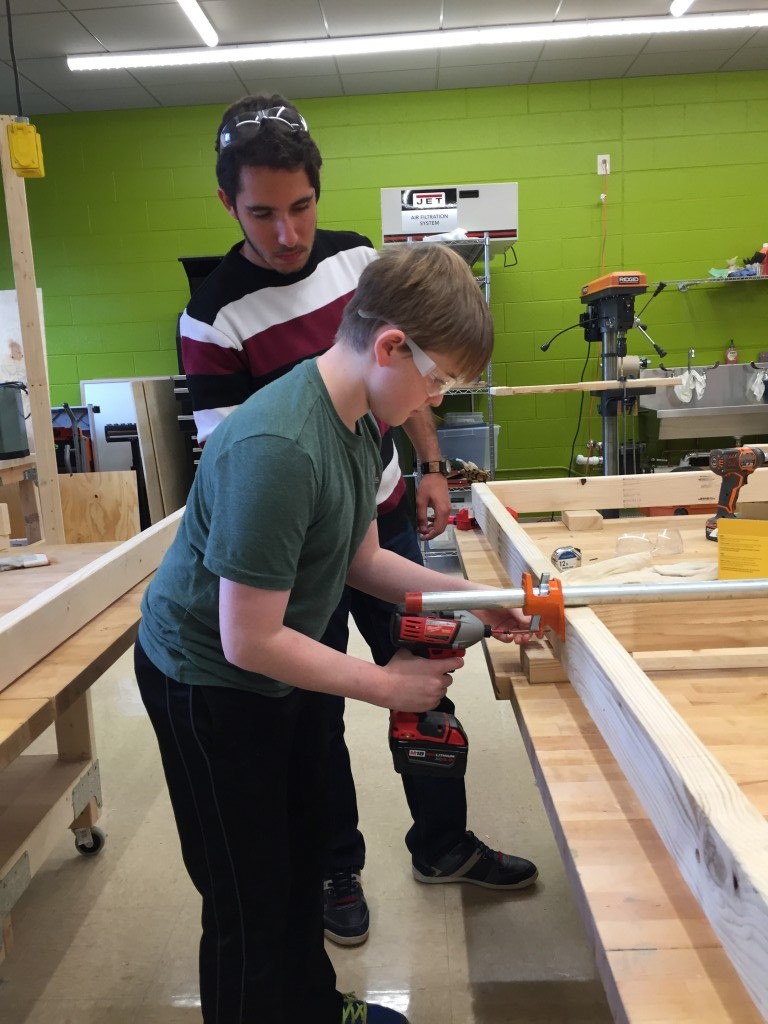
I enjoyed watching kids jump at the opportunity to build — especially those who were tentative at the beginning.

img_4071 img_4070 img_4068

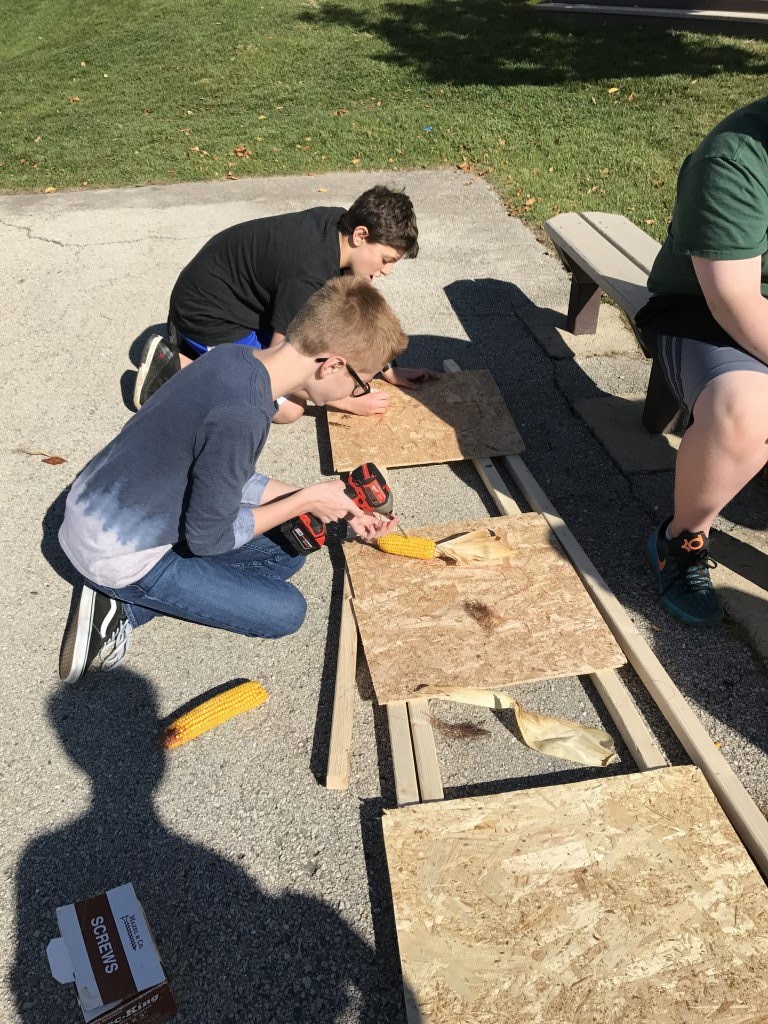
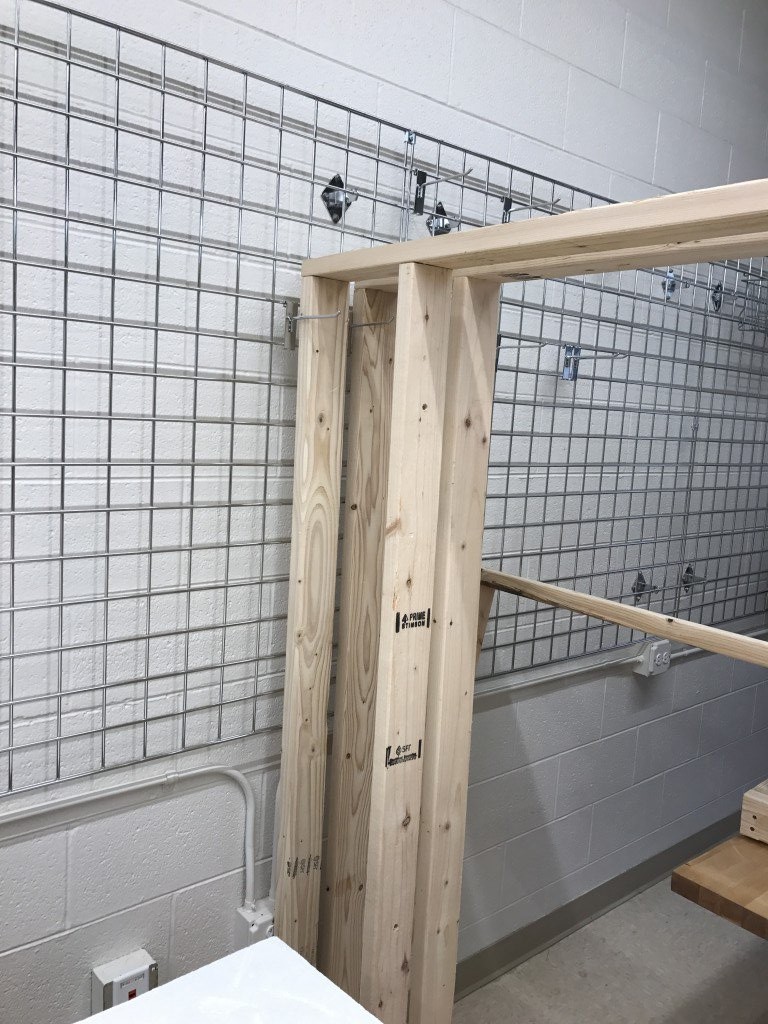
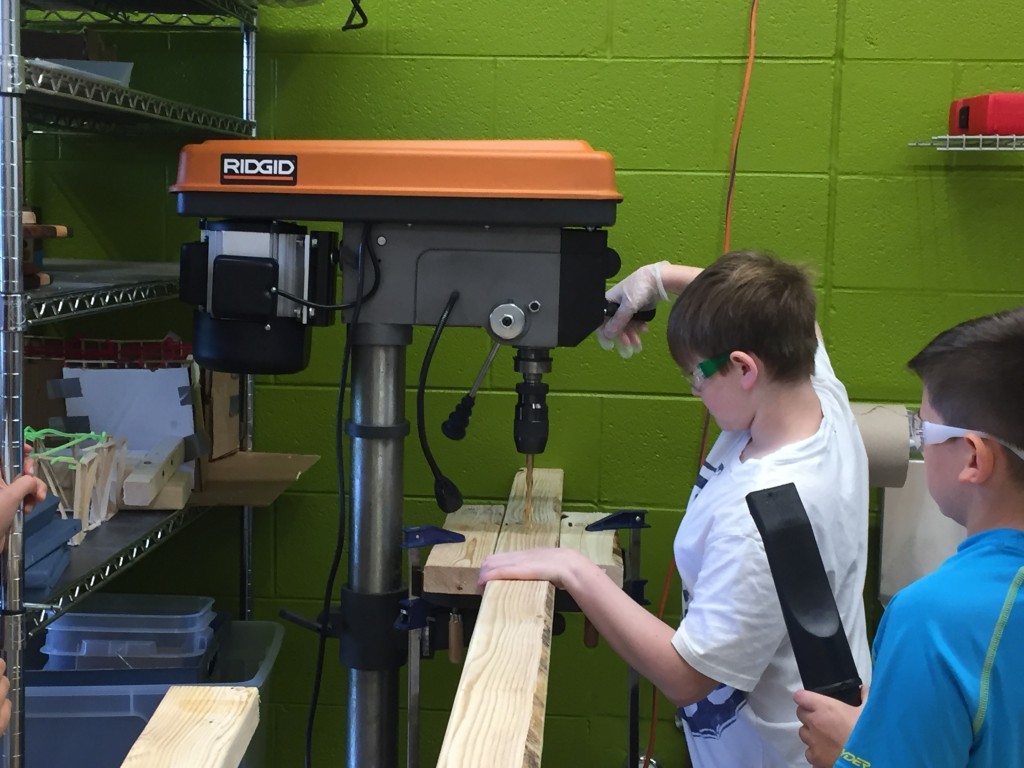
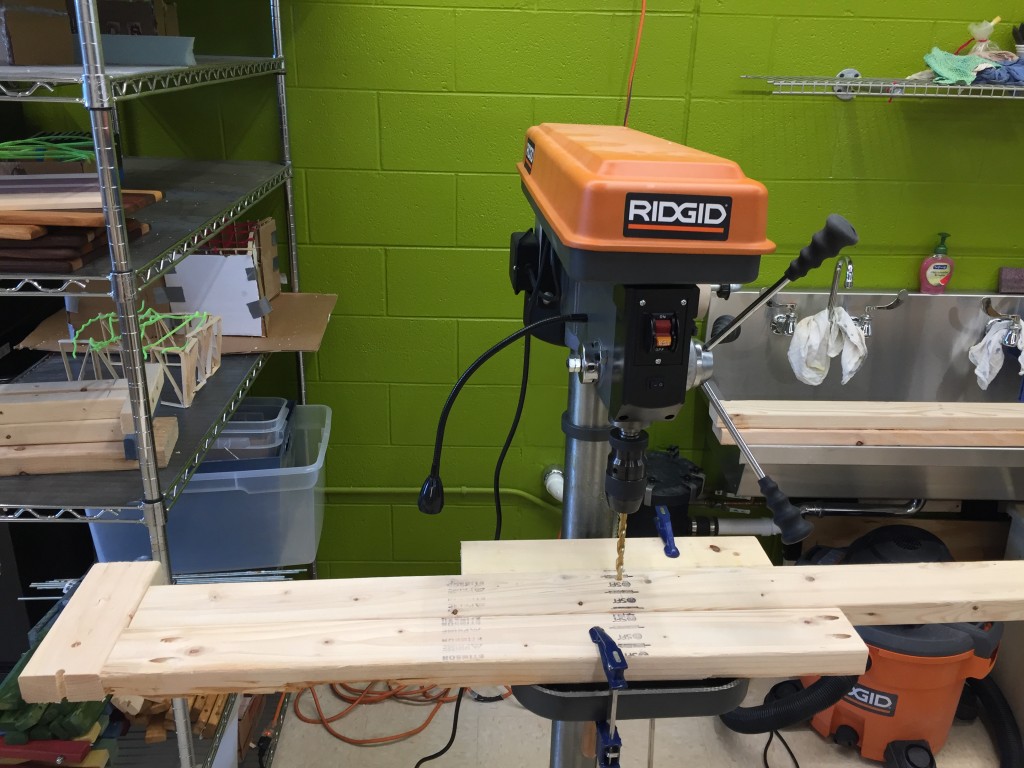
I was pleased how well the stopper/jig worked for mass producing drill press holes in the panel frames. I am certain that it won’t be perfect; some of the holes aren’t going to line up. But it sure saved time, and the students genuinely understood the value of this simple carpentry trick.

img_4064

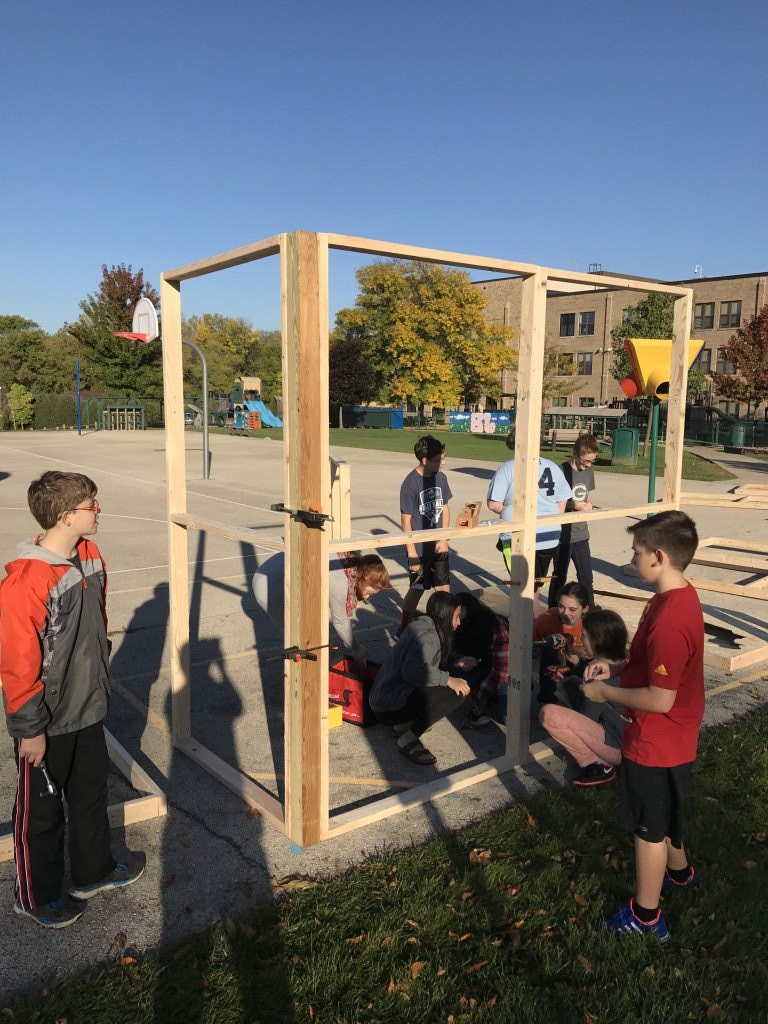
The first couple of build days have been thoroughly exhausting, uplifting, energizing, inspiring…a whole bunch of often contradictory emotions. But at the end of the day, these kids worked their tuchuses off — and they did so as a team.
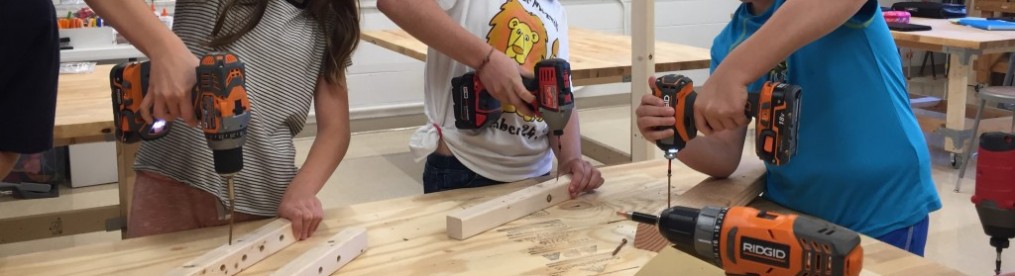
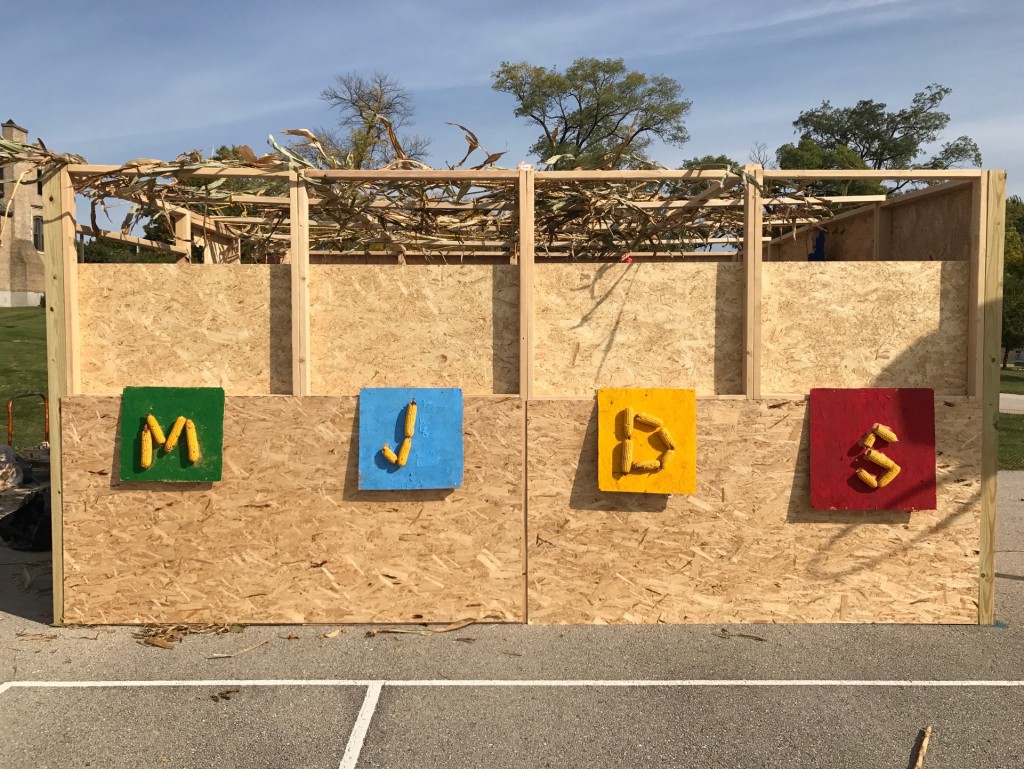
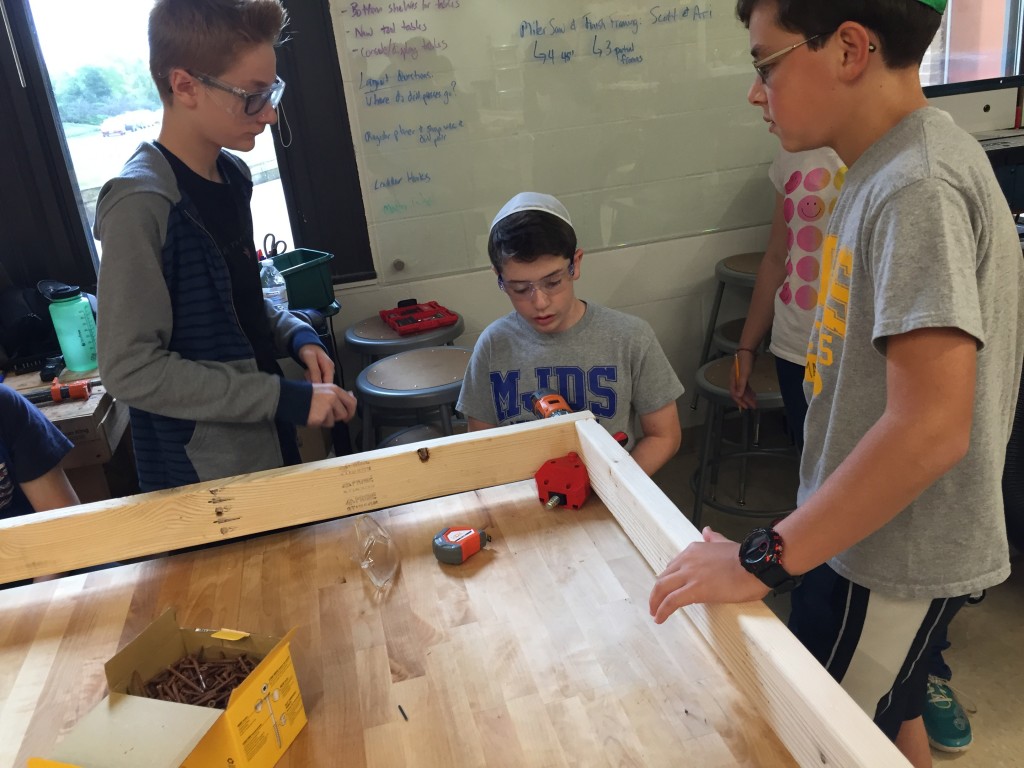
Step 8 – Let’s Build!

So the day finally arrived. This afternoon, after I took a “quick” trip to Home Depot to pick up 54 2x4s, 6 sheets of plywood and sundry fasteners, we started to build the sukkah!

The students first unloaded all the 2x4s and shlepped them to the MakerSpace. Working in pairs, each group took four 2x4s. On two of them, they measured and marked two feet from the ends, where they would eventually drill holes with the drill press through which bolts will attach one frame to another. They also marked 45″ lengths from either end so that we could cut the cross pieces. Then students used the miter saw and drill press to get their pieces ready.

img_4057 img_4059

A few groups were able to actually build all or most of their frame too. Given that most of the students are novices with the freehand drill, we decided to use some glue and clamps to create a rigid frame before screwing the pieces together.

img_4060

While certainly hectic, it was a great first day of building. Hopefully we can finish all the cutting and drilling during our next class so that we can focus all of our efforts on creating the 12 4′ x 8′ frames that are the backbone of our sukkah design.

One final note: the class was very engaged and productive today. Given the hands-on nature of building, I am not surprised. But I am pleased.